Easily Design a Postgres DB schema using dbdiagram.io (Part 2)
Continuing on...
Alright so in part 1 we created our schema and even exported the schema into a .sql file. Pretty cool. Now lets get that schema to actually create our tables in postgreSQL.
Populating PostgreSQL with our schema
Lets use Docker to download a postgres image from docker hub and then start and run the container locally.
You can do this by navigating to docker hub and searching for postgres. Select the first postgres image you see which should be the official docker image. (see below)

You can download any postgres image you would like. I'm going to use 16-alpine. Enter the below command to download it.
- Note: Make sure you have installed docker desktop.
docker pull postgres:16-alpine
Once the download finishes you can run the postgres container with the following command.
- Note: Give the postgres database a unique password instead of yoursecretpassword. Save this in a safe spot. We will use it later.
docker run --name postgres16 -p 5432:5432 -e POSTGRES_USER=root -e POSTGRES_PASSWORD=yoursecretpassword -d postgres:16-alpine
You can then run docker ps to see your running container. You can also run docker images to see the available images.
Connect to the database and run your first command
The postgres server is now ready. We can connect to it and access its console by the following command.
docker exec -it postgres16 psql -U root
You are now inside the postgres console. Since this is running on local host the default is to trust requests coming from local host so you will not need to enter your password. We can test to see if everything works.
select now();
You should see the current time outputted. GREAT!
You can also see logs of the container. Type /q to exit out of the postgres db. Then run the following...
docker logs postgres16
You can now see the the logs within your database.
See a GUI representation of the database with tableplus
We can also see a GUI representation of the database with tableplus.com. Navigate to tablesplus.com and download it.
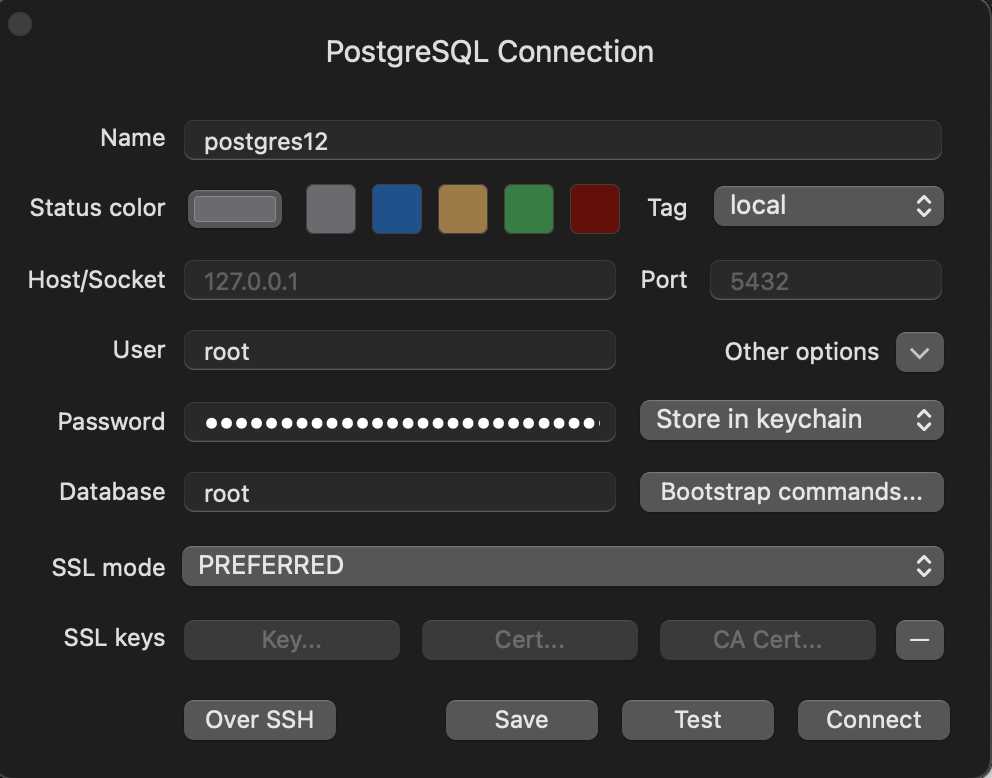
Once it is downloaded you can right click to create a new connection. You will want to select postgres as the database type. It should look like this. Make sure you enter the password you created earlier.

You can click test at the bottom and all fields should show up green. Click "connect".
Running your .sql file and creating your tables
Next open the .sql file you generated in part 1. Highlight the entire file and press cmd enter. This will generate the tables for you. Now refresh by selecting cmd r You will see 3 tables created.
- accounts
- entries
- transfers
You can highlight any of the tables and select the "Structure" tab to view info on the tables.

Thats it! Your database is now initialized.
In this blog post we learned how to pull down a database image from docker hub, initialize it, read logs and populate it using a free GUI tool called tableplus.
In the next post in this series I'll show how to connect to our database within our repository and eventually use sqlc to generate CRUD Go code! Heads will explode! Well at least mine...
I hope this was helpful and thanks for reading.
